Morning Rituals

How To, Personal, Wellbeing

Morning Rituals: Or, How to feel less like a zombie at 6AM

A couple of posts ago, I shared what I’ve been doing to become a Morning Person. In today’s post, I’ll be going into more detail around my morning rituals. I’m finally getting to the point where I don’t feel like a miserable mess when my alarm goes off, so I’ll try to share what’s been helping me.

Optimize your alarm clock

I don’t have one of those nifty dawn-simulating alarm clocks (though it is definitely on my wishlist), but my phone has two sweet settings that seem to be helping wake me up in the morning:

1) A smart alarm: Three minutes before my set wake-up time is mean to go off, a soft and gentle wake-up warning will start to sound. Sometimes, this is all I need to wake me up in the morning, often without waking up Erik. I have the option to snooze my smart alarm, and wait for the actual one to go off three minutes later.

2) Bright lights: When my proper alarm goes off (currently set to 6:30 am), it is accompanied by the flashlight on my phone turning on and off. It’s a little thing, but that bright light in my room has really been helping me get awake and oriented in the mornings, especially during these dark winter months.

Rev up your metabolism with Cayenne Lemonade

I went into detail about my beloved Cayenne Lemonade in last week’s post, so I won’t go into too much detail here. All you’ll need for this morning elixir is a mug of warm water, the juice of half a lemon, and a couple shakes of cayenne pepper (I recommend starting small if you are not a fan of spice). This Morning Elixir will help get your digestive tract moving by encouraging the secretion of stomach acid in preparation for breakfast, but it will probably also make you poop, so be prepared for that.

Have a protein-packed breakfast

Indulging in a protein-rich breakfast first thing in the morning will help keep your blood sugar balanced for the day ahead. That means that you’ll be more focused and satiated for longer than if you’d had a more carb-centric breakfast. My favourite protein-packed brekkies often include a plant-based protein shake, a bowl of quinoa porridge, or a few scrambled eggs.

Work standing up

I know that while sitting in a comfy chair first thing in the morning, I’m more likely to fall asleep than get to work. So I try to do some work standing up.

If you’ve got a standing desk, then lucky you, feel free to use that. Since I do not have a standing desk, I’ve found that a kitchen counter or island does the trick. Disclaimer: This may only work if you’re a short little lady like me. If you are not a shortie, maybe try adding a stack of books to your counter and see if that does the trick.

Matcha it up

I’m not sure if I’ve mentioned this on the blog, but last summer, I was finally able to kick my coffee habit. On the very rare occasion when I’ve let my desire get the best of me and have a cup, I’m very quickly reminded of why I stopped (it makes me feel like complete garbage). However, I am also somebody who really enjoys the ritual and camaraderie of visiting my local independent coffee shop, so I’ve taken up with another significantly more healthy vice: Matcha Lattes.

Matcha is an antioxidant rich green tea powder, with a fresh, grassy, and bitter flavour. I’ve heard that it can be an acquired taste, but that was not my experience at all. I loved matcha lattes the moment my first sip crossed my lips. My local cafe makes them with almond milk and a squeeze of honey, and they are to die for, IMO. I’ve also heard that they’re quite high in caffeine, but they don’t affect me in at all the same way that a cup of coffee or espresso-based beverage does. For me, they provide more focused, calm energy, which is a vast improvement from jittery, sleep-deprived me of yesteryear.

Bonus Tip: Pop a melatonin 20 minutes before bed.

Most nights before bed, I take a Melatonin. Melatonin is a hormone in your body responsible for sleep. In its supplement form, it can help you fall asleep and stay asleep. It has been a bit of a godsend for me because I often have a restless mind when I’m lying in bed at night. And even once I’ve fallen asleep, that anxiety can sometimes leave me tossing and turning throughout the night. It doesn’t work every night, but when it does, I am very grateful to sleep peacefully through the night. And I feel a lot more well-rested the following morning.
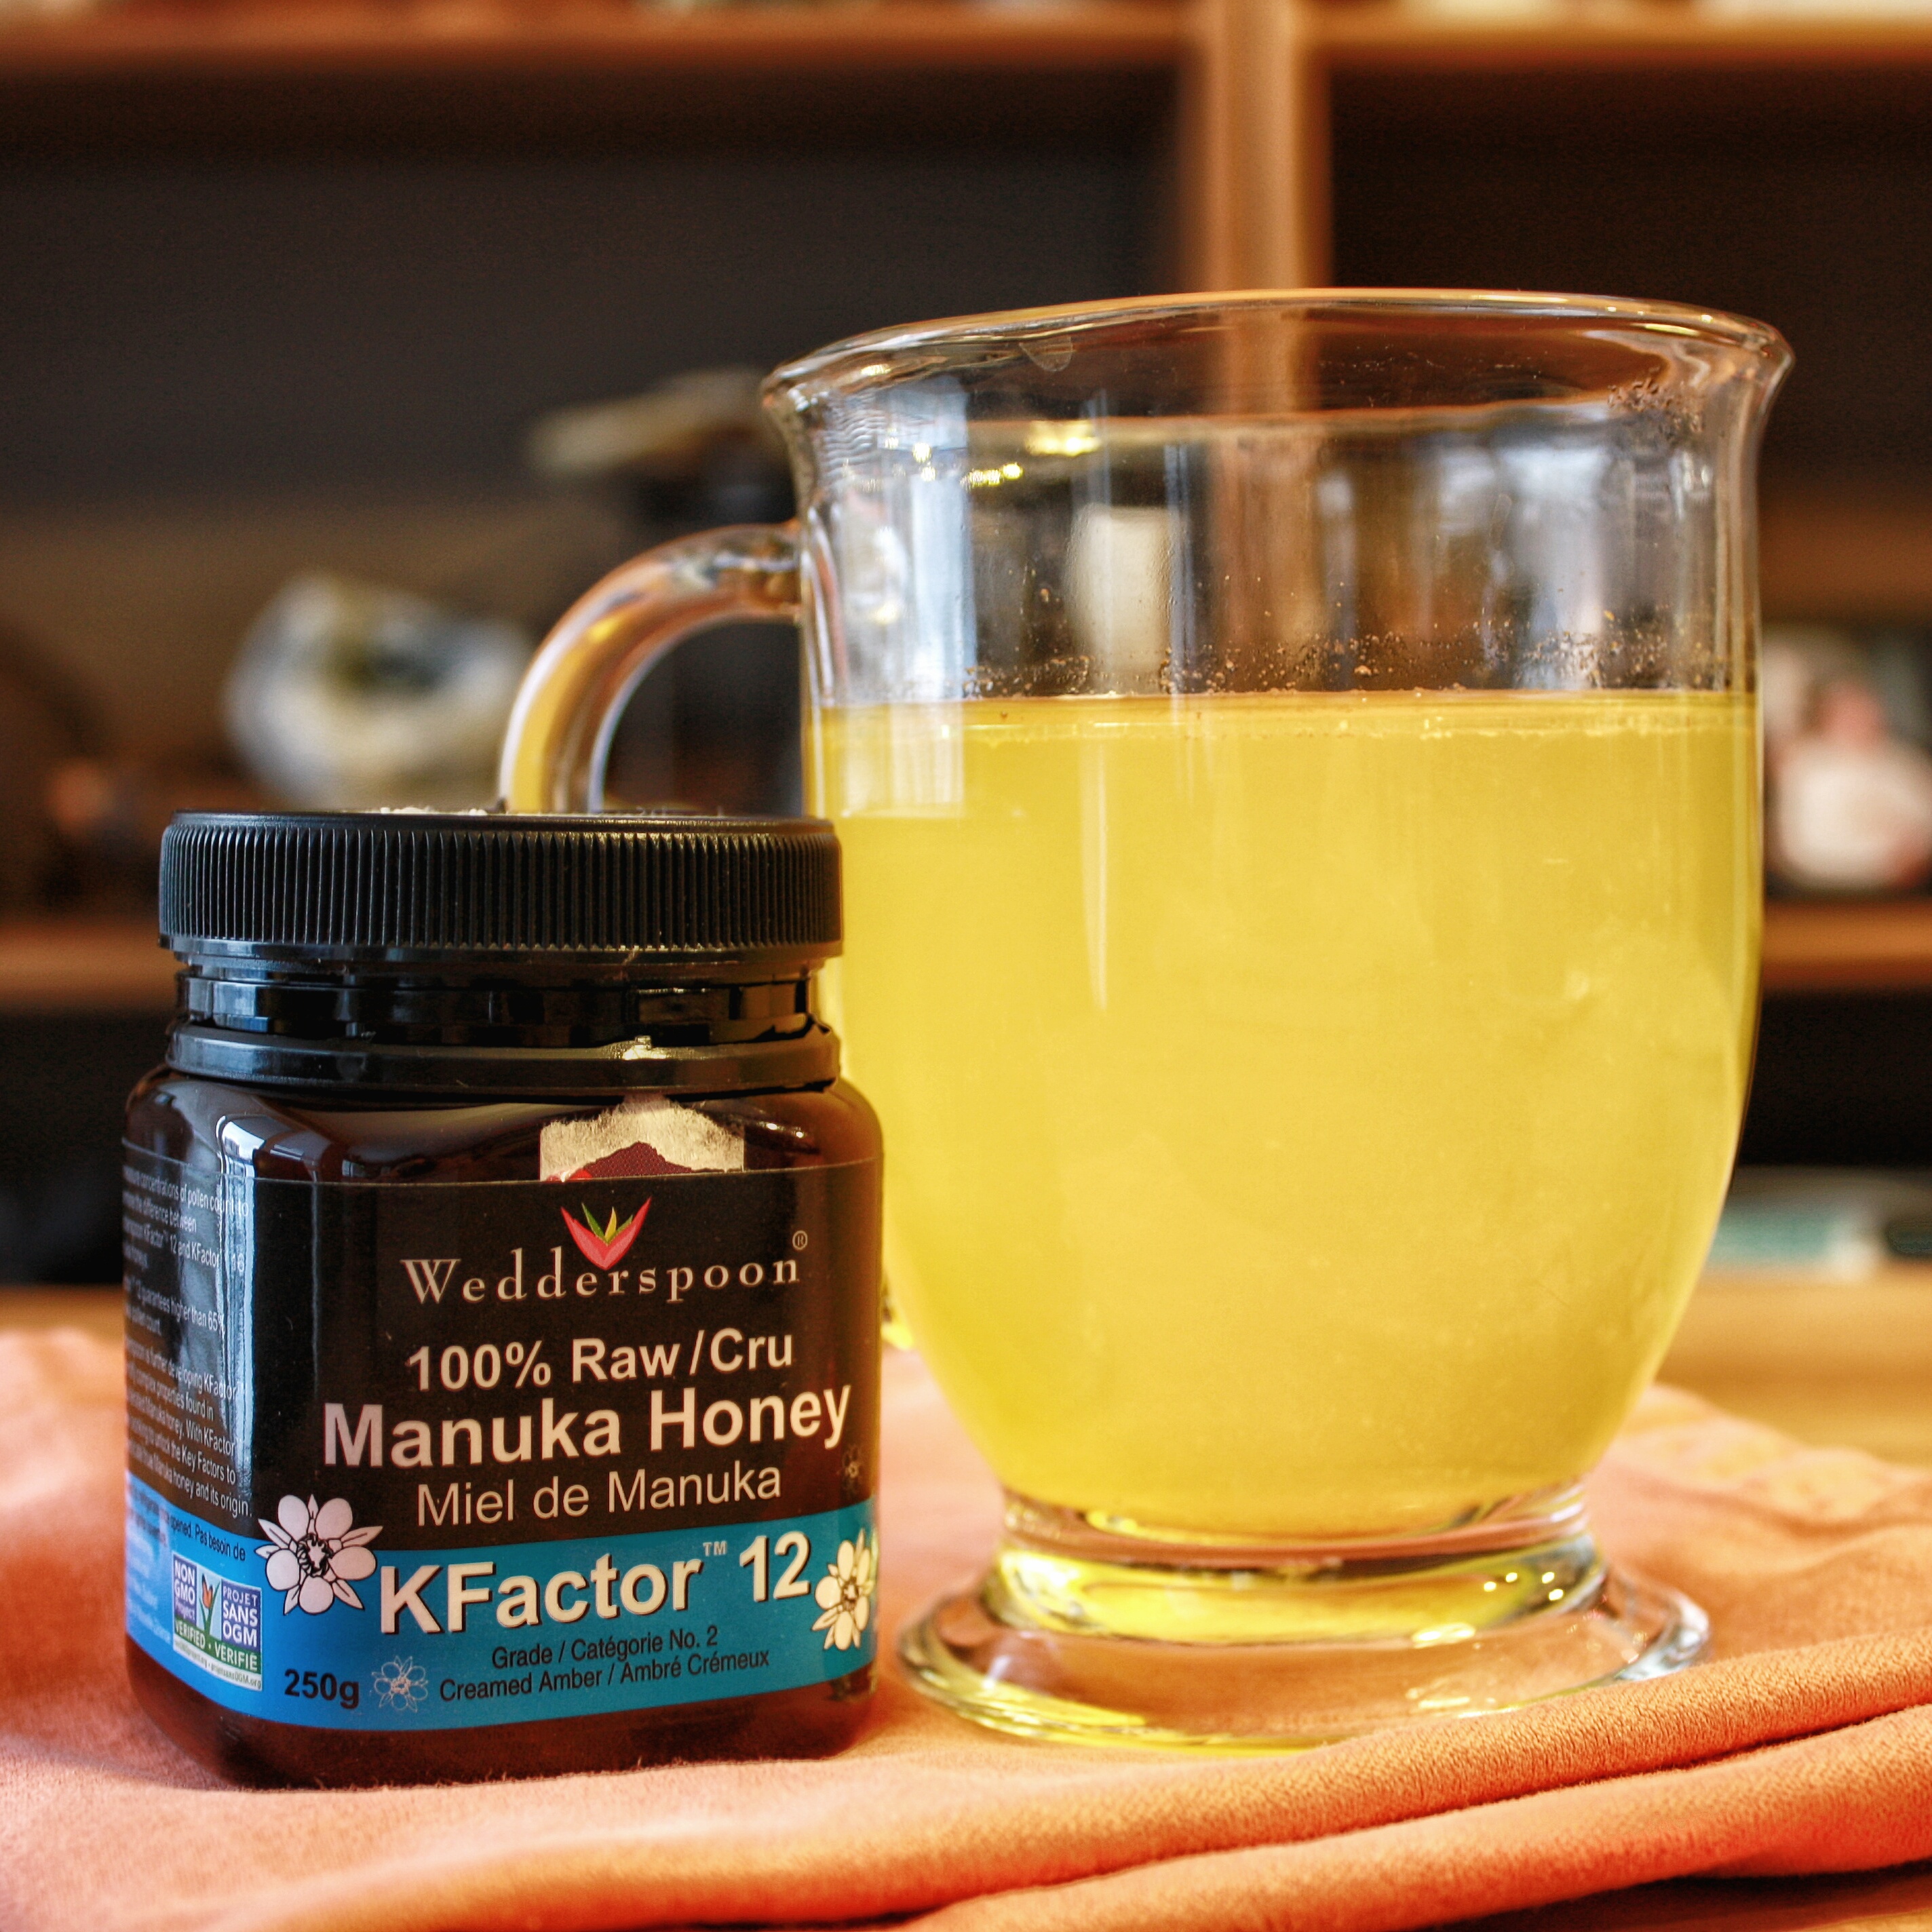

a hot mug of immunity elixir and manuka honey

Sweet and Spicy Immunity Elixir

Recipe

It’s snowing outside right now. And after an oddly warm start to our winter, I still haven’t quite transitioned properly into winter wear. When possible, I can still be found rocking my leather jacket and Chuck Taylor’s. It’s no surprise that sitting at home on this cold afternoon, I have an equally nasty cold. All the usual suspects are there: congestion, a scratchy throat, low energy. I quickly set to work brewing an immune elixir. Don’t you just love the word ‘elixir’? It makes me feel like I’m drinking some kind of magical potion. And with this Sweet and Spicy Immunity Elixir, that might just be the case. If you’re feeling under the weather, the amazing anti-bacterial, anti-viral, and anti-inflammatory properties of all this elixir’s ass kicking ingredients will have you back on your feet in no time. And it’ll do a number on any congestion you’ve got going on too. Bam! 

Now, a word of caution about the flavour: It is basically a tonic to ward off vampires. It’s pretty intense. It’s garlicky, and savoury, and the flavours change as the liquid moves along your tongue and down your throat. I like to keep a spoon in my cup so that I can stir the cayenne and oil back in as it separates. 

Sweet and Spicy Immunity Elixir
Print
Ingredients
  1. 1 garlic bulb, cloves peeled and thinly sliced
  2. 2 fingers of turmeric, thinly sliced
  3. 3" long piece of fresh ginger, sliced thinly
  4. 1 organic lemon, thinly sliced
  5. Manuka honey, raw honey, or maple syrup (sweeten to taste)
  6. cayenne (to taste)
  7. coconut oil
Instructions
  1. Bring 4 cups of water to a boil. Reduce the heat to low and add garlic, turmeric, and ginger. Cover and simmer for 1 hour.
  2. When the first hour is up, add in the sliced lemon. Cover and simmer for another 30 minutes.
  3. Pour however much you want to drink through a strainer into a cup. All of the strained bits can go back in the pot to continue brewing. You can keep pouring more water over the mixture and simmering away.
  4. Add sweetener (again, optional), a shake or 2 of cayenne pepper to your cup, and a 1/2 tsp of coconut oil per serving. Stir and enjoy!
Annemarie Dixon http://annemariedixon.com/
An inukshuk, each rock symbolizing one aspect of Lissa Rankin's "Whole Health Cairn": physical health, mental health, money, environment, creativity, sexuality, spirituality, work/life purpose, relationships, inner pilot light

Why Should You Keep a Journal?

Personal, Wellbeing

Ah, spring. Mother Nature is always a bit confused this time of year, and on this particular gloomy weekend, I wanted to express the awesomeness of one of my favourite past-times: journaling. It isn’t a fun time to be outdoors, so when better than now to spend some time on a little introspection and self-exploration?

Emotional Health and Journaling

The holistic approach to health is all about addressing the issues of a person as a whole rather than their individual symptoms. There are so many more components to health than just diet and exercise. Your physical health is just one small part of your overall health. In Lissa Rankin’s “Whole Health Cairn”, she depicts several aspects of health as a part of an inukshuk. If any one piece is missing, the whole thing collapses.

An inukshuk, each rock symbolizing one aspect of Lissa Rankin's "Whole Health Cairn": physical health, mental health, money, environment, creativity, sexuality, spirituality, work/life purpose, relationships, inner pilot light

Keeping a journal is one of my favourite ways to address many parts of the “Whole Health Cairn”, Which parts you address will, of course, depend on what you decide to write about on any given day.

Why keep a journal?

Journaling is a very meditative experience and can be a great way to organize our busy minds, keep track of our dreams and goals, and explore our thoughts.

I’ve kept a journal for as long as I can remember, and my methods of doing so are ever evolving. I’ve kept sketchbook journals, fill-in-the-blanks journals, food journals…

No matter how I go about it, I’ve always found that journaling is a great way to put things into perspective. Sometimes, the events of our daily lives, and our thoughts, can be blown out of proportion and overwhelm us. Writing down our thoughts and re-evaluating them can help us to look at these events with a more realistic and levelheaded mindset. Our thoughts are just thoughts. They can be as positive or negative as we allow them to be.

What should you journal about?

Feel free to write about anything and everything you feel like! Your journal doesn’t have to be a sterile space; use it as an extension of your wacky, wild, and creative brain. Write about your day and things you want to remember. Make lists of your goals. Make lists for your grocery shopping. Sketch and doodle. Brainstorm. Keep your journal by your bed so that you can grab it and start documenting you dreams while your eyelids are still stuck together, before you begin to forget things. Write down what your grateful for. Write a story!

When should you write in your journal?

Whenever you feel like it! I bring my journal and a pen with me everywhere I go, just in case an idea hits me, or there is some element of my day I want to go back and explore. You can turn journaling into a daily ritual or as a way to unwind in the evenings. For example, take an hour before bed to grab your journal and a cup of tea, and write about your day. If something upsetting happened that day, writing it down can help you vent your frustrations and go to bed with a clear mind. If something amazing happened that day, writing it down is a way to relive it and remember each brilliant detail.

An assortment of vegetables from my CSA box: bundle of orange carrots, a bunch of celery and a handful of mushrooms

How to Eat Organic on the Cheap with CSA

Food Philosophy, Personal

I’ve been M.I.A. for a little bit. Oops, sorry about that.

I started a new job about a month ago, and the extra responsibility has hit me like a ton of bricks. Work starts at an utterly ungodly hour which, on the bright side, has helped to regulate my sleep cycle, but when I get home, I am definitely not in the mood to do anything remotely productive. Mostly I spend my afternoons and evenings curled up with a book or hitting a yoga class, often while drinking way too many matcha lattes. But now that I’ve returned, I have something exciting I want to share with you lovely folks.

Introducing My CSA

Today is Wednesday, one of my favourite days of the week because it means that a CSA box arrives on my front porch somewhere between the hours of noon and 9pm. What is a CSA, you ask?

CSA stands for “Community Supported Agriculture”.

At the beginning of the growing season, you pay the farm a set fee and in return, you receive a share of the farm’s produce every week in the form of a CSA box. However, you also share the risks the farm faces, whether that is weather or pests – things out of the farmer’s control.

If you have never experienced the joys of the CSA, now is a great time of year to start. Each growing season brings its own unique produce. Over the winter, our CSA boxes tended to contain plenty of root vegetables and greenhouse lettuces and sprouts. I am currently drooling over the prospect of the warm-weather produce to come: juicy sun sugar tomatoes, plump berries, and an assortment of unrecognizable melons that prove to be scrumptious.

Advantages of Joining a CSA

Each box is a welcome surprise, and one that forces me to get creative in the kitchen. I often receive produce I would never have thought to purchase at the grocery store – garlic scapes, anyone? Tomatillos? Watermelon radishes?

There are costs to shopping at the grocery store.

Not only is shopping organic at the grocery store super expensive, but you are also losing out on the awesome nutritional potential of fresh and local produce.

Correct me if I’m wrong, but I’ve always found that the signs over the produce bins at my local grocery store always read “Product of U.S.A.” or “Product of Israel” or some other far off place, meaning that your food has been transported a pretty long way to get to where you are. This can take a while, and in order to ensure this produce is not spoiled by the time it reaches the grocery store, it is often picked from the plant before it is anywhere close to ripe let alone brimming with nutritious goodness. The longer your produce remains growing and the closer it is to ripe when it’s picked, the more time it has had to suck all those awesome vitamins and minerals from the soil and the better it will be for your sweet bod.

Eating local is better for the environment and for your community.

Since locally grown produce does not have to travel very far to reach you, less energy is used up on transport. You might also notice that local food requires less packaging, which means that there is less to throw in the garbage afterwards. By supporting your local farms, you ensure that the future generations of your community have access to an abundance of nutritious food.

More vegetables from my CSA box: a beautiful head of green lettuce, a bunch of celery, and some carrot greens

Click here to find an Ontario CSA close to you (This link will be helpful to Ontario residents, but if you live outside of Ontario, I’m sure a quick Google search of local CSAs will be equally beneficial).

If you want to learn more about the benefits of eating local my favourite books on these subjects are In Defense of Food: An Eater’s Manifesto by Michael Pollan, and Animal, Vegetable, Miracle by Barbara Kingsolver. I have also started putting together a library of my favourite nutrition and food resources for you! I’ll keep updating it as I come up with more. But for now, that’s my piece. I’ll see you next time!

Killer Crispy Kale Chips

Recipe

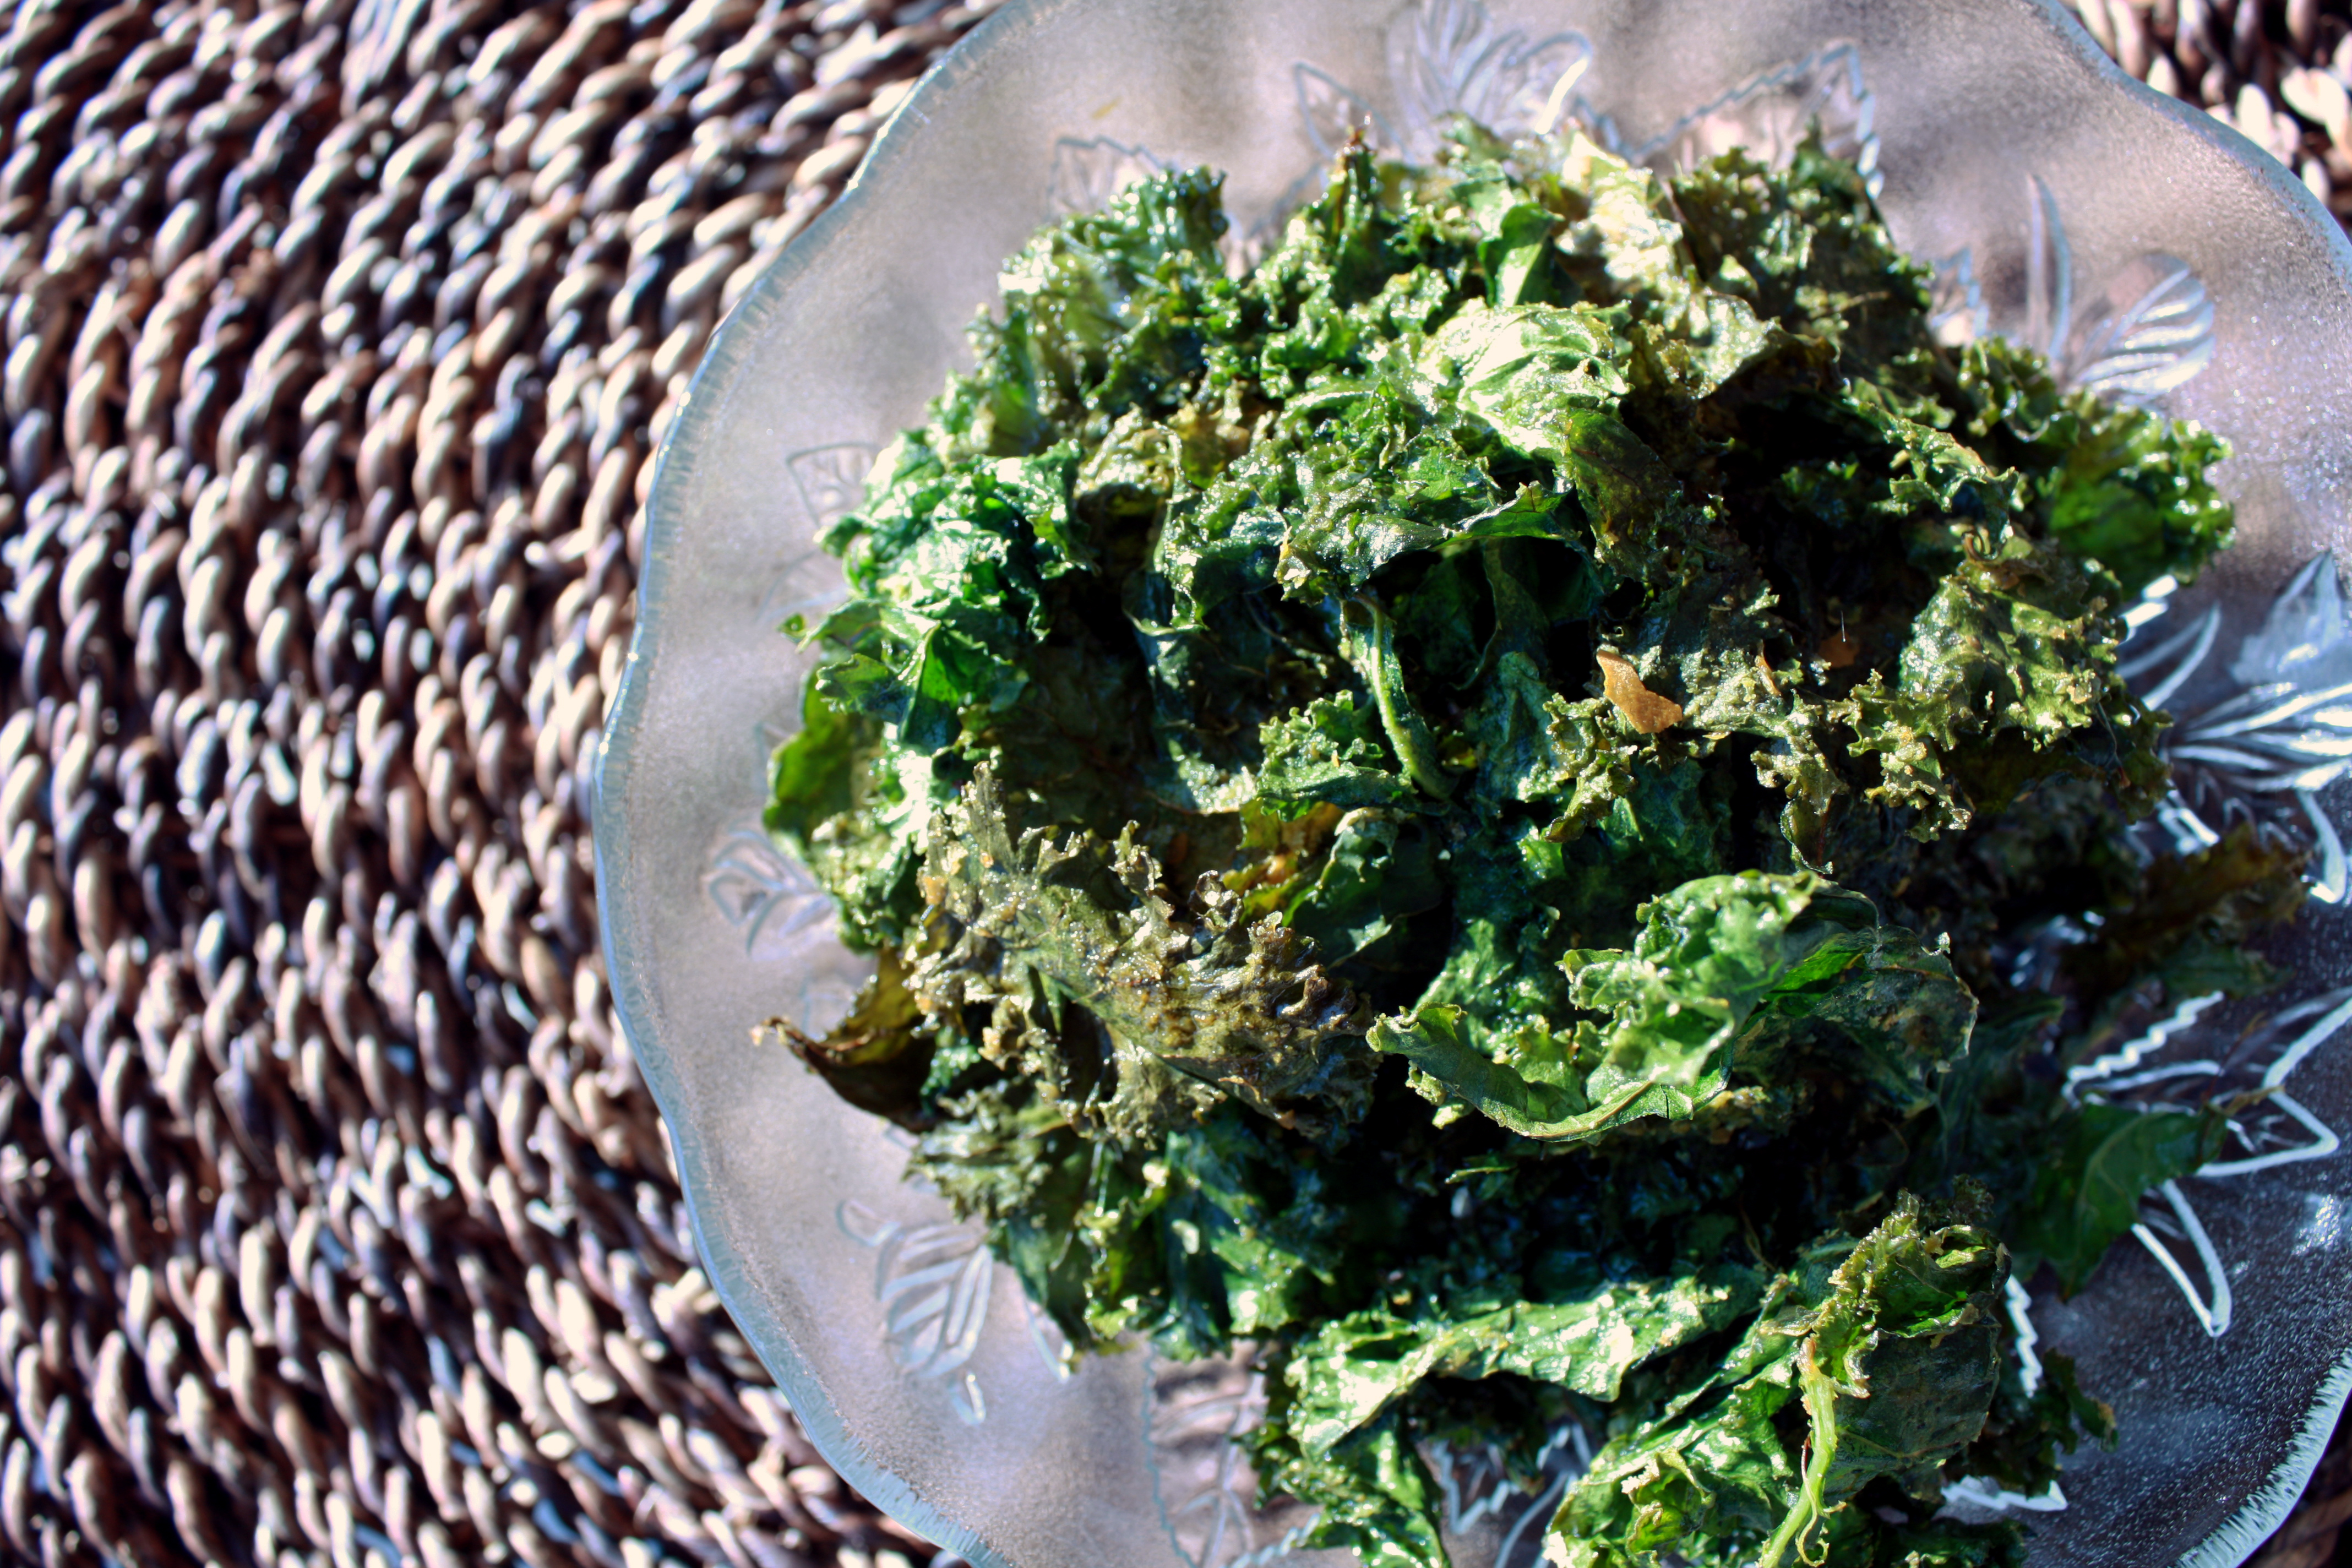
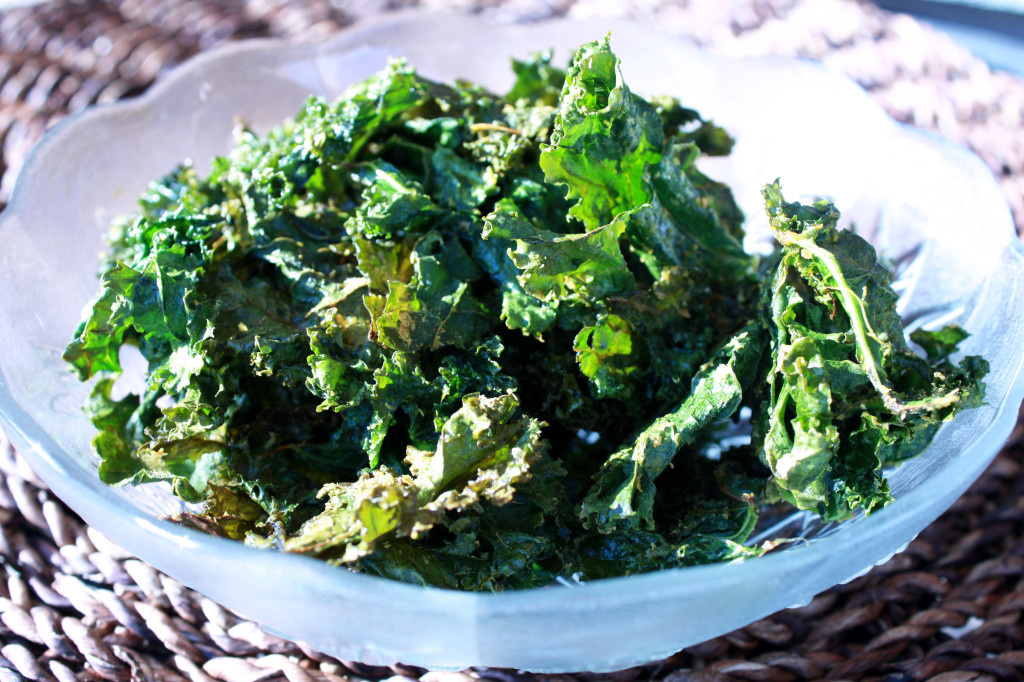
Bowl of crispy kale chips in a decorative glass bowl, sitting in the sunshine

Homemade Kale Chips are one of life’s great joys. They’re a healthy and delicious alternative to potato chips, and you’d be surprised by how easily an entire head of kale can disappear when consumed in the crispy, crunchy, bite-sized form that is the kale chip. There are endless combinations to how you can dress them, and seasoning can be whatever you feel like putting on them. Here are a few of the many reasons why kale is killer:

  • 1 cup of kale only has 36 calories, and 5 grams of fibre
  • Kale is an amazing vegetable for supporting the body’s detoxification pathways, it is rich in antioxidant phytonutrients, is anti-inflammatory, and can even help to lower cholesterol levels
  • High in iron: Iron is needed for the formation of hemoglobin and enzymes, transporting oxygen to various parts of the body, cell growth, liver function and more. Per calorie, kale contains more iron than beef!
  • Great source of calcium: Calcium is needed for preventing bone loss which helps to prevent osteoporosis, and maintaining a healthy metabolism. Per calorie, kale has more calcium than milk!
  • Rich in vitamins A, C, and K 

Uncooked massaged kale tossed with applewood smoked sea salt and nutritional yeast, spread out on parchment paper

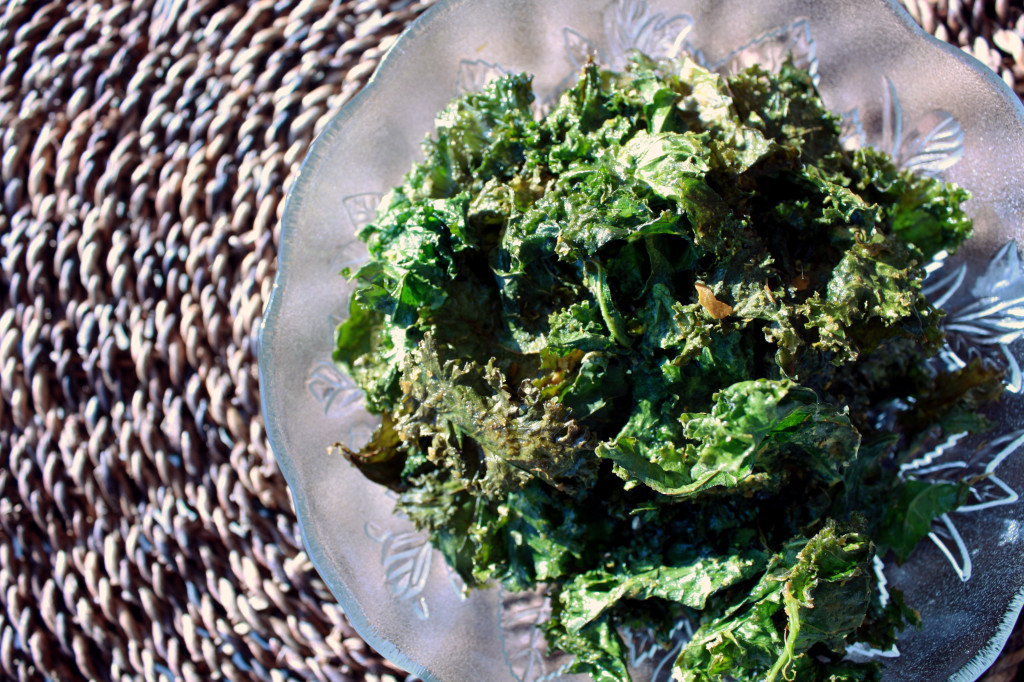
Overhead view of oven fresh kale chips, in a decorative class bowl

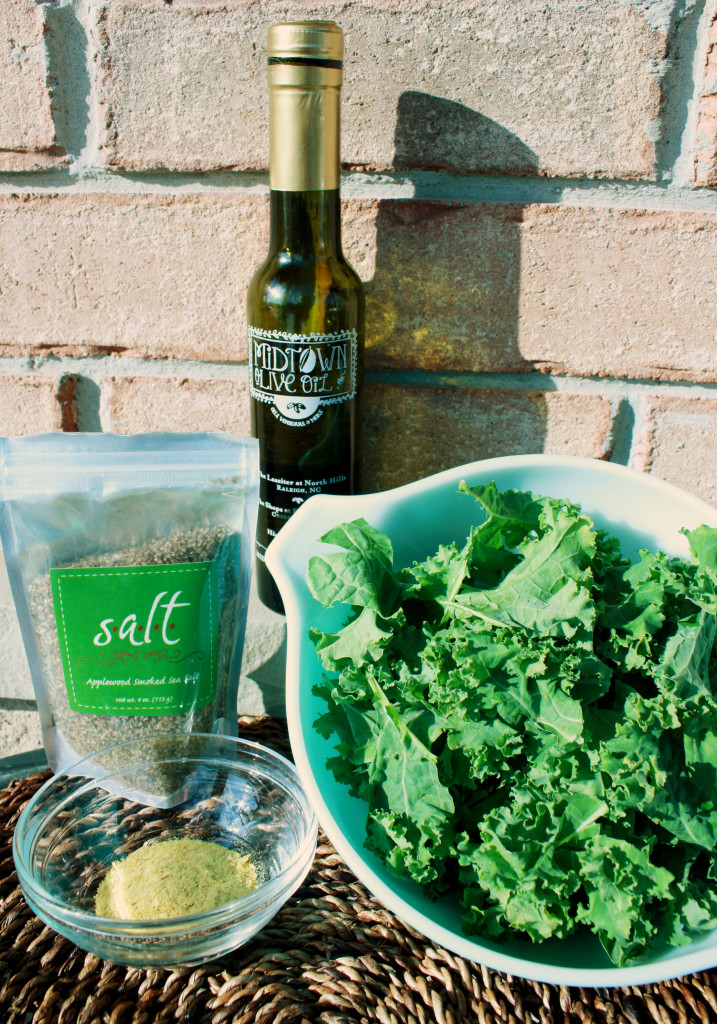
This particular take on kale chips was probably the yummiest I’ve ever had. Ever. Erik and I were spoiled this Christmas by our family in North Carolina, who supplied us with some gourmet goodies from their local shops. They gave us two different infused olive oils (Basil, and Wild Mushroom and Sage) and three kinds of sea salt (they come in a bunch of funky colours, and each one has its own very unique flavour) which I’ve had quite a lot of fun experimenting with. They’re also a great way to jazz up any dish, ranging from salads, to soups, to whatever! For the splendiferous kale chips pictured here, I massaged them with basil-infused olive oil, and sprinkled them with some applewood smoked sea salt and a ton of nutritional yeast. Ugh, to die for.

All the ingredients I used for these kale chips: basil-infused olive oil, applewood smoked sea salt, nutritional yeast, and a head of kale torn into bite-sized pieces

Killer Crispy Kale Chips
Print
Ingredients
  1. 1 bunch of curly kale (can be red or green, you decide)
  2. 1 tbsp of olive oil or coconut oil
  3. Sea salt, to taste
  4. Seasoning of your choice
Instructions
  1. Preheat your oven to 350 degrees F.
  2. Tear kale up into chip-sized pieces and place them in a large bowl.
  3. If using olive oil, drizzle the olive oil over the kale and massage it into each leaf. If using coconut oil, the oil will melt from the heat of your fingers as you massage it into the kale.
  4. Sprinkle sea salt and other toppings over the kale chips and toss them in.
  5. Line a baking sheet with parchment paper and spread out the kale chips in a single layer on the parchment paper. Do not put more kale on the baking sheet than will fit in a single layer as they won't cook through properly. You can save the remaining kale for another time, or bake a second batch.
  6. Bake the kale chips for 12 – 15 minutes. Keep an eye on them to make sure they don't get too crispy (by which I mean burnt :P).
Other amazing combos
  1. Sea salt and vinegar
  2. Nutritional yeast and cayenne pepper
  3. Homemade cashew cheese and chives
Annemarie Dixon http://annemariedixon.com/