a hot mug of immunity elixir and manuka honey

Sweet and Spicy Immunity Elixir

Recipe

It’s snowing outside right now. And after an oddly warm start to our winter, I still haven’t quite transitioned properly into winter wear. When possible, I can still be found rocking my leather jacket and Chuck Taylor’s. It’s no surprise that sitting at home on this cold afternoon, I have an equally nasty cold. All the usual suspects are there: congestion, a scratchy throat, low energy. I quickly set to work brewing an immune elixir. Don’t you just love the word ‘elixir’? It makes me feel like I’m drinking some kind of magical potion. And with this Sweet and Spicy Immunity Elixir, that might just be the case. If you’re feeling under the weather, the amazing anti-bacterial, anti-viral, and anti-inflammatory properties of all this elixir’s ass kicking ingredients will have you back on your feet in no time. And it’ll do a number on any congestion you’ve got going on too. Bam! 

Now, a word of caution about the flavour: It is basically a tonic to ward off vampires. It’s pretty intense. It’s garlicky, and savoury, and the flavours change as the liquid moves along your tongue and down your throat. I like to keep a spoon in my cup so that I can stir the cayenne and oil back in as it separates. 

Sweet and Spicy Immunity Elixir
Print
Ingredients
  1. 1 garlic bulb, cloves peeled and thinly sliced
  2. 2 fingers of turmeric, thinly sliced
  3. 3" long piece of fresh ginger, sliced thinly
  4. 1 organic lemon, thinly sliced
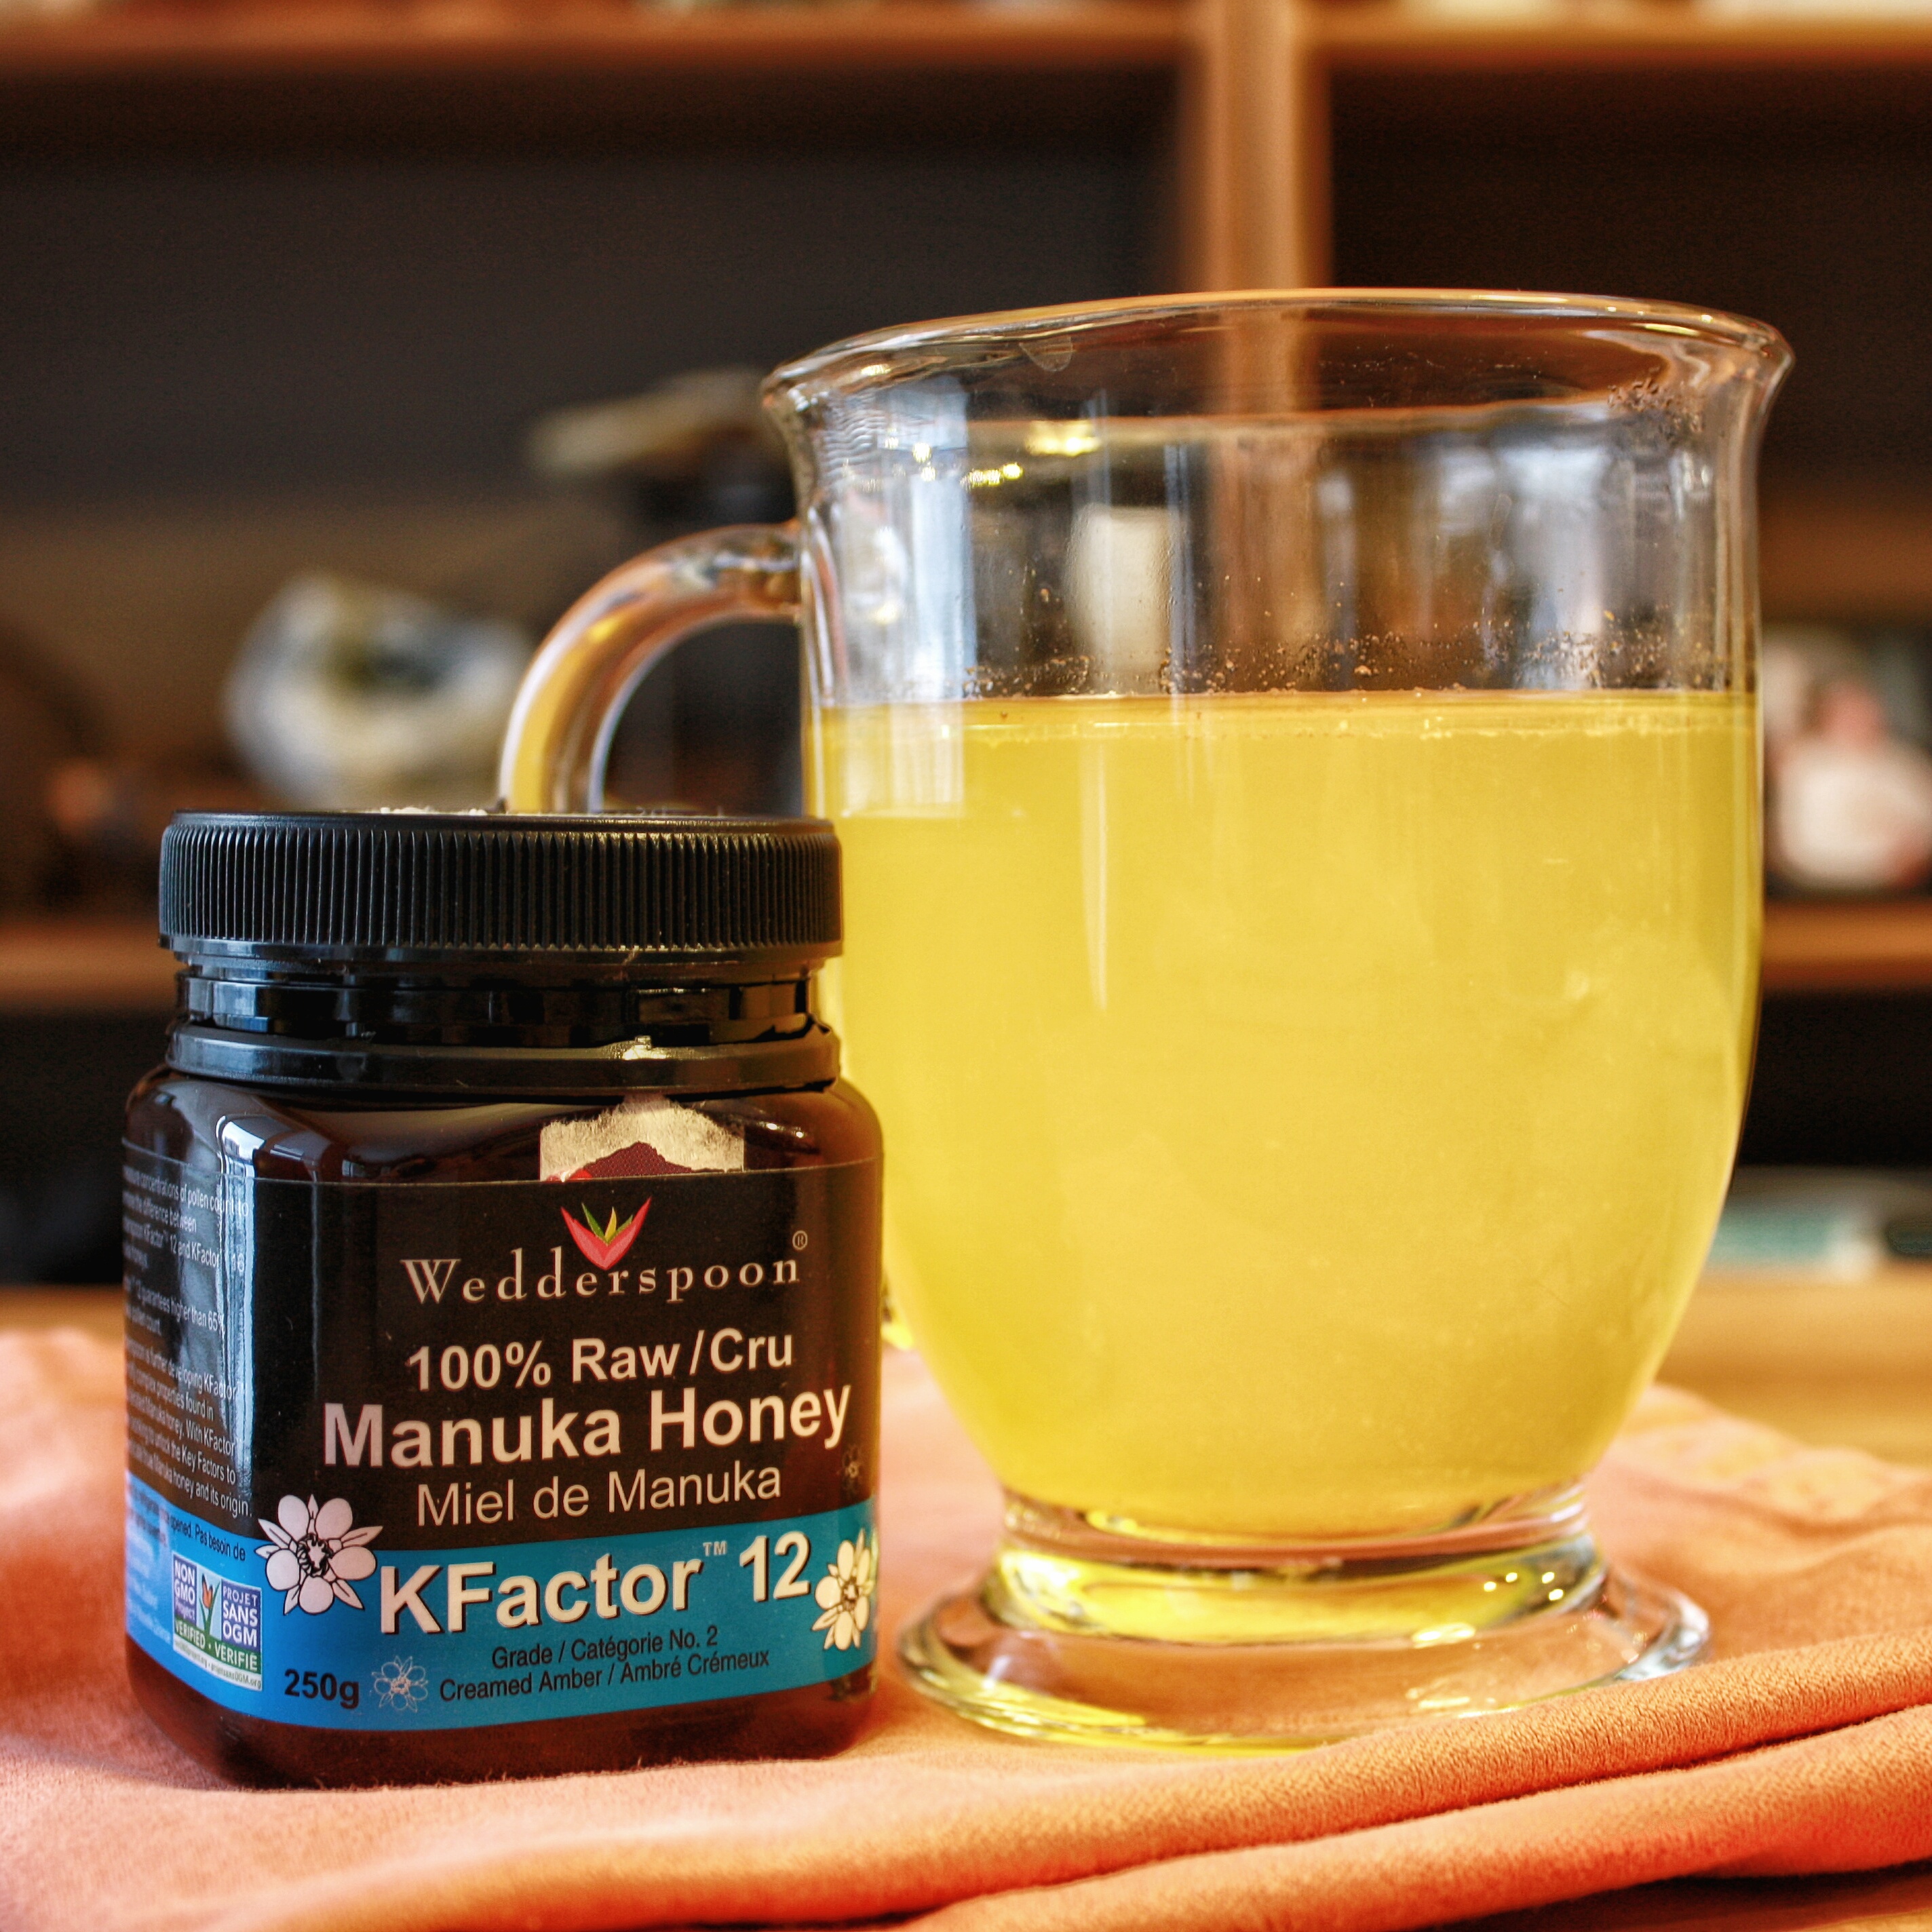
  5. Manuka honey, raw honey, or maple syrup (sweeten to taste)
  6. cayenne (to taste)
  7. coconut oil
Instructions
  1. Bring 4 cups of water to a boil. Reduce the heat to low and add garlic, turmeric, and ginger. Cover and simmer for 1 hour.
  2. When the first hour is up, add in the sliced lemon. Cover and simmer for another 30 minutes.
  3. Pour however much you want to drink through a strainer into a cup. All of the strained bits can go back in the pot to continue brewing. You can keep pouring more water over the mixture and simmering away.
  4. Add sweetener (again, optional), a shake or 2 of cayenne pepper to your cup, and a 1/2 tsp of coconut oil per serving. Stir and enjoy!
Annemarie Dixon http://annemariedixon.com/
bowl of roasted beet hummus with a side of crackers

Roasted Beet Hummus

Recipe

This post comes to you, with a whopping heap of love, from a gorgeous cottage in Muskoka. The same cottage, in fact, from which I wrote this photo diary and this post, giving you some tips for developing awesome new habits. Cottage life tends to make me deliriously happy — maybe it’s all that fresh air? This morning, I got to wake up to an incredible view of the lake on the other side of our bedroom window. (It was so fantastic that I immediately had to roll my pretty purple mat out on the rocks and bust out some yoga, right then and there.) I spent most of the afternoon curled up next to a campfire, snacking and chatting with everyone. And now, in the light of a spectacular sunset, I decided that I had to share something amazing with you guys.

vibrant sunset over a lake in Northern Ontario

It comes in the form of an insanely yummy, garlicky dip and, much like the sunset, it is beautifully pink: Roasted beet hummus, my friends. Having recently acquired a giant basket of local beets and a powerful jonesing for hummus, I decided to combine the two into this hot mess. Behold, the prettiest hummus you will ever see.

bowl of roasted beet hummus with a side of crackers

Roasted Beet Hummus
Print
Ingredients
  1. 14 oz can of chickpeas, drained and rinsed
  2. 1 beet, diced and roasted (400 degrees F for about 35 - 40 minutes)
  3. 1 clove of minced garlic
  4. juice of half a lemon
  5. 1/4 cup of olive oil
  6. 1/4 tsp of turmeric
  7. 1/4 tsp of cumin
  8. 1/4 tsp of paprika
  9. couple shakes of cayenne (depending on how spicy you like it)
  10. sea salt and black pepper to taste
  11. chopped green onion and parsley to garnish (optional)
Instructions
  1. Dump all of the ingredients into a food processor.
  2. Process until smooth, adding water as you go to adjust the consistency. (I probably added about 1/4 cup.)
  3. Adjust the seasoning to how you like it!
Annemarie Dixon http://annemariedixon.com/

It’s gorgeousness will thwart long-standing beet loathers, and will ease the task of sneaking vegetables into picky kiddos (in case you’re looking for an alternative to green smoothies and zucchini muffins). Total game changer, if I do say so myself. The parsley and green onion are also pretty critical. They add this wicked freshness that demands tasting.

Now, if you don’t mind, I’m off to enjoy some family time. Let me know how you like the hummus!

Killer Crispy Kale Chips

Recipe

Bowl of crispy kale chips in a decorative glass bowl, sitting in the sunshine

Homemade Kale Chips are one of life’s great joys. They’re a healthy and delicious alternative to potato chips, and you’d be surprised by how easily an entire head of kale can disappear when consumed in the crispy, crunchy, bite-sized form that is the kale chip. There are endless combinations to how you can dress them, and seasoning can be whatever you feel like putting on them. Here are a few of the many reasons why kale is killer:

  • 1 cup of kale only has 36 calories, and 5 grams of fibre
  • Kale is an amazing vegetable for supporting the body’s detoxification pathways, it is rich in antioxidant phytonutrients, is anti-inflammatory, and can even help to lower cholesterol levels
  • High in iron: Iron is needed for the formation of hemoglobin and enzymes, transporting oxygen to various parts of the body, cell growth, liver function and more. Per calorie, kale contains more iron than beef!
  • Great source of calcium: Calcium is needed for preventing bone loss which helps to prevent osteoporosis, and maintaining a healthy metabolism. Per calorie, kale has more calcium than milk!
  • Rich in vitamins A, C, and K 

Uncooked massaged kale tossed with applewood smoked sea salt and nutritional yeast, spread out on parchment paper

Overhead view of oven fresh kale chips, in a decorative class bowl

This particular take on kale chips was probably the yummiest I’ve ever had. Ever. Erik and I were spoiled this Christmas by our family in North Carolina, who supplied us with some gourmet goodies from their local shops. They gave us two different infused olive oils (Basil, and Wild Mushroom and Sage) and three kinds of sea salt (they come in a bunch of funky colours, and each one has its own very unique flavour) which I’ve had quite a lot of fun experimenting with. They’re also a great way to jazz up any dish, ranging from salads, to soups, to whatever! For the splendiferous kale chips pictured here, I massaged them with basil-infused olive oil, and sprinkled them with some applewood smoked sea salt and a ton of nutritional yeast. Ugh, to die for.

All the ingredients I used for these kale chips: basil-infused olive oil, applewood smoked sea salt, nutritional yeast, and a head of kale torn into bite-sized pieces

Killer Crispy Kale Chips
Print
Ingredients
  1. 1 bunch of curly kale (can be red or green, you decide)
  2. 1 tbsp of olive oil or coconut oil
  3. Sea salt, to taste
  4. Seasoning of your choice
Instructions
  1. Preheat your oven to 350 degrees F.
  2. Tear kale up into chip-sized pieces and place them in a large bowl.
  3. If using olive oil, drizzle the olive oil over the kale and massage it into each leaf. If using coconut oil, the oil will melt from the heat of your fingers as you massage it into the kale.
  4. Sprinkle sea salt and other toppings over the kale chips and toss them in.
  5. Line a baking sheet with parchment paper and spread out the kale chips in a single layer on the parchment paper. Do not put more kale on the baking sheet than will fit in a single layer as they won't cook through properly. You can save the remaining kale for another time, or bake a second batch.
  6. Bake the kale chips for 12 – 15 minutes. Keep an eye on them to make sure they don't get too crispy (by which I mean burnt :P).
Other amazing combos
  1. Sea salt and vinegar
  2. Nutritional yeast and cayenne pepper
  3. Homemade cashew cheese and chives
Annemarie Dixon http://annemariedixon.com/